Hey there, tech enthusiasts! If you're diving into the world of IoT and looking to set up remote monitoring using SSH on a Raspberry Pi with Ubuntu, you're in the right place. In this article, we’ll break down everything you need to know about remote IoT monitoring, SSH setup, and how to download Raspberry Pi Ubuntu like a pro.
Let’s face it—IoT is no longer just a buzzword; it's a game-changer for tech lovers and businesses alike. Whether you're building a smart home, monitoring environmental conditions, or managing industrial equipment, remote IoT monitoring is the key to unlocking efficiency. And guess what? With SSH and a trusty Raspberry Pi running Ubuntu, you can do all of this and more without breaking a sweat.
Now, before we dive deep into the nitty-gritty, let’s set the stage. This guide is packed with actionable tips, step-by-step instructions, and insider secrets to help you master remote IoT monitoring. So grab your favorite beverage, sit back, and let’s get started!
Read also:Karoline Leavitt Parents Nationality A Deep Dive Into Her Roots And Heritage
Understanding Remote IoT Monitoring: Why It Matters
Remote IoT monitoring is like having a superpower in your pocket. Imagine being able to keep an eye on your devices, sensors, or systems from anywhere in the world. Sounds cool, right? But why exactly is remote monitoring so important?
First off, it saves time. No more running around to check on your equipment manually. With remote IoT monitoring, you can access real-time data, troubleshoot issues, and make informed decisions—all from the comfort of your desk. Plus, it enhances security, reduces costs, and improves overall system performance.
What Makes SSH the Perfect Companion for IoT?
SSH, or Secure Shell, is like the Swiss Army knife of remote access tools. It allows you to securely connect to your IoT devices, transfer files, and manage configurations without worrying about hackers sniffing around. Here’s why SSH is a must-have for your IoT projects:
- Encryption: SSH encrypts all your communication, keeping your data safe from prying eyes.
- Authentication: With SSH keys, you can authenticate your connections without relying on passwords, adding an extra layer of security.
- Flexibility: SSH supports a wide range of commands and protocols, making it versatile for various IoT applications.
Setting Up Your Raspberry Pi for Remote IoT Monitoring
Alright, let’s talk about the star of the show—the Raspberry Pi. This tiny powerhouse is perfect for IoT projects thanks to its affordability, flexibility, and compatibility with a wide range of operating systems. And when paired with Ubuntu, it becomes a force to be reckoned with.
Why Choose Ubuntu for Your Raspberry Pi?
Ubuntu is known for its stability, security, and ease of use, making it an ideal choice for IoT projects. Here’s why you should consider Ubuntu for your Raspberry Pi setup:
- Regular Updates: Ubuntu provides frequent updates to ensure your system stays secure and up-to-date.
- Community Support: With a massive community of developers and enthusiasts, you’ll never run out of resources or help.
- Compatibility: Ubuntu supports a wide range of applications and tools, making it easy to integrate with your IoT ecosystem.
Downloading Raspberry Pi Ubuntu: Step-by-Step Guide
Ready to install Ubuntu on your Raspberry Pi? Follow these simple steps to get started:
Read also:Unveiling The Mystery Aishah Sofey Naked
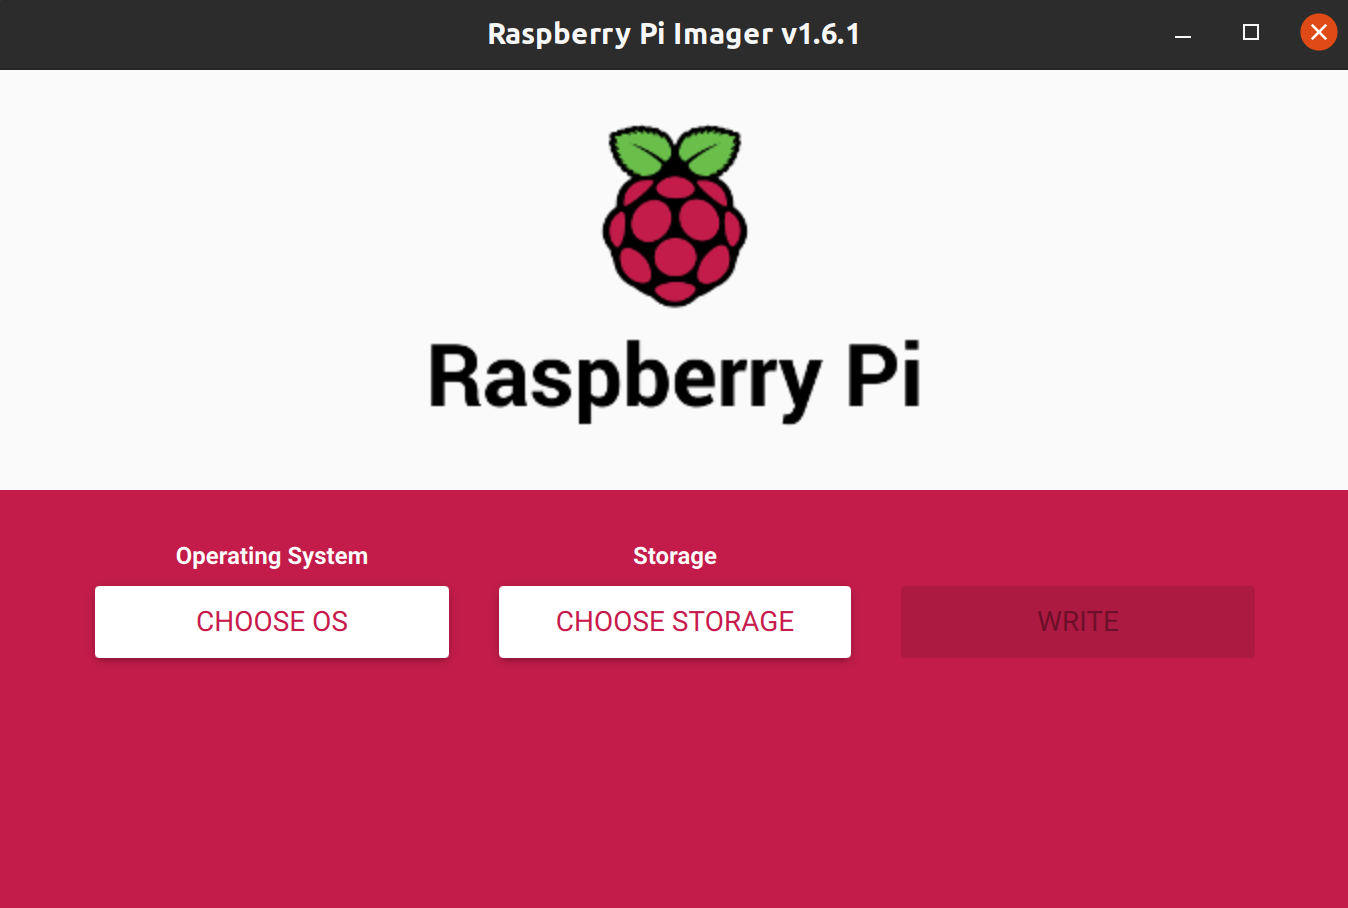
Step 1: Download the Raspberry Pi Imager
The Raspberry Pi Imager is a tool that makes it super easy to install operating systems on your Raspberry Pi. You can download it from the official Raspberry Pi website. Just head over to the downloads section, grab the latest version, and install it on your computer.
Step 2: Choose the Right Ubuntu Image
Once you’ve installed the Raspberry Pi Imager, open it up and select the Ubuntu image you want to use. For most IoT projects, the Ubuntu Server image is the way to go. It’s lightweight, secure, and packed with features.
Step 3: Write the Image to Your SD Card
Insert your SD card into your computer, select it in the Raspberry Pi Imager, and hit the “Write” button. This process may take a few minutes, so sit tight and let it do its magic.
Step 4: Boot Up Your Raspberry Pi
Once the image is written to your SD card, pop it into your Raspberry Pi, connect it to a monitor, keyboard, and power source, and watch it boot up. If everything goes smoothly, you should see the Ubuntu login screen in no time.
Configuring SSH on Your Raspberry Pi Ubuntu
Now that you’ve got Ubuntu up and running on your Raspberry Pi, it’s time to enable SSH. Here’s how you can do it:
Enabling SSH via the Command Line
Step 1: Open the Terminal
Fire up the terminal on your Raspberry Pi by clicking on the terminal icon or pressing Ctrl+Alt+T.
Step 2: Update Your System
Before enabling SSH, it’s a good idea to update your system. Run the following commands:
sudo apt update && sudo apt upgrade
Step 3: Enable SSH
To enable SSH, simply run this command:
sudo systemctl enable ssh
sudo systemctl start ssh
That’s it! SSH is now enabled on your Raspberry Pi.
Connecting to Your Raspberry Pi via SSH
With SSH enabled, you can now connect to your Raspberry Pi from any device on your network. Here’s how:
Using SSH on Windows
If you’re on a Windows machine, you can use tools like PuTTY or Windows PowerShell to connect to your Raspberry Pi. Just open the terminal or PuTTY, type in the following command, and hit Enter:
ssh username@raspberrypi.local
Replace “username” with your actual username and “raspberrypi.local” with your Raspberry Pi’s IP address if needed.
Using SSH on macOS/Linux
On macOS or Linux, you can connect to your Raspberry Pi directly from the terminal. Use the same command as above:
ssh username@raspberrypi.local
Once connected, you’ll be prompted to enter your password. After that, you’ll have full access to your Raspberry Pi via SSH.
Setting Up Remote IoT Monitoring
Now that you’ve got SSH up and running, it’s time to set up remote IoT monitoring. Here’s how you can do it:
Choosing the Right Sensors
The first step in remote IoT monitoring is selecting the right sensors for your project. Whether you’re monitoring temperature, humidity, motion, or any other parameter, there’s a sensor out there for you. Some popular options include:
- DHT22: For temperature and humidity monitoring.
- MQ-2: For gas detection.
- PIR Sensor: For motion detection.
Connecting Sensors to Your Raspberry Pi
Once you’ve chosen your sensors, it’s time to connect them to your Raspberry Pi. This usually involves wiring the sensors to the GPIO pins on your Pi. Make sure to follow the manufacturer’s instructions carefully to avoid damaging your Pi or sensors.
Installing Monitoring Software
With your sensors connected, the next step is installing monitoring software. Some popular options include:
- Node-RED: A visual tool for wiring together hardware devices, APIs, and online services.
- Home Assistant: An open-source home automation platform that lets you monitor and control your IoT devices.
- Grafana: A powerful data visualization tool that works great for IoT monitoring.
Securing Your Remote IoT Monitoring System
Security should always be a top priority when setting up remote IoT monitoring. Here are a few tips to keep your system safe:
Use Strong Passwords
Weak passwords are a hacker’s best friend. Make sure to use strong, unique passwords for your Raspberry Pi and SSH connections. Consider using a password manager to keep track of them.
Enable Two-Factor Authentication
Two-factor authentication adds an extra layer of security to your SSH connections. It’s easy to set up and can prevent unauthorized access even if your password is compromised.
Keep Your System Updated
Regularly updating your Raspberry Pi’s operating system and software is crucial for maintaining security. Use the following commands to update your system:
sudo apt update && sudo apt upgrade
Troubleshooting Common Issues
Even with the best preparation, things can go wrong. Here are some common issues you might encounter and how to fix them:
SSH Connection Refused
If you’re unable to connect to your Raspberry Pi via SSH, double-check that SSH is enabled and that your IP address is correct. Also, ensure that your firewall isn’t blocking the connection.
Sensors Not Detecting Data
If your sensors aren’t detecting data, check the wiring and ensure that the sensors are properly connected to your Raspberry Pi. You might also want to verify that the sensor drivers are installed and configured correctly.
Conclusion: Take Your IoT Projects to the Next Level
And there you have it—a comprehensive guide to mastering remote IoT monitoring with SSH on a Raspberry Pi running Ubuntu. Whether you’re a seasoned pro or just starting out, the tips and tricks in this article should help you take your IoT projects to the next level.
So what are you waiting for? Dive in, experiment, and let your creativity shine. And don’t forget to share your experiences and projects in the comments below. We’d love to hear from you!
Table of Contents
- Understanding Remote IoT Monitoring: Why It Matters
- Setting Up Your Raspberry Pi for Remote IoT Monitoring
- Downloading Raspberry Pi Ubuntu: Step-by-Step Guide
- Configuring SSH on Your Raspberry Pi Ubuntu
- Connecting to Your Raspberry Pi via SSH
- Setting Up Remote IoT Monitoring
- Securing Your Remote IoT Monitoring System
- Troubleshooting Common Issues
- Conclusion: Take Your IoT Projects to the Next Level