Are you ready to dive into the world of Raspberry Pi cloud management? If you're here, chances are you've heard about this little powerhouse called Raspberry Pi and how it can revolutionize the way you manage cloud services. But don't worry if you're still figuring things out—we're about to break it all down for you, step by step. Whether you're a tech enthusiast or just someone curious about cloud computing, this tutorial’s got your back.
Picture this: you’ve got a Raspberry Pi sitting on your desk, waiting to be turned into a cloud powerhouse. But where do you even start? That’s what we’re here for. In this Raspberry Pi cloud management tutorial, we’ll walk you through everything you need to know to set up, configure, and manage your very own cloud infrastructure using this tiny but mighty device.
So, buckle up! By the end of this guide, you’ll not only understand how Raspberry Pi cloud management works but also be ready to take on more advanced projects. Let’s get started!
Read also:Odisha Mms The Ultimate Guide To Understanding Exploring And Maximizing Its Potential
What is Raspberry Pi Cloud Management Anyway?
Let’s clear the air first—what exactly does Raspberry Pi cloud management mean? Simply put, it’s the process of using a Raspberry Pi to manage and control cloud services. Think of your Raspberry Pi as a mini server that can handle tasks like file storage, remote access, and even running applications in the cloud. The best part? It’s affordable, energy-efficient, and super customizable.
Here’s why Raspberry Pi cloud management is a game-changer:
- Cost-effective: No need for expensive hardware.
- Flexible: You can run multiple cloud services on one device.
- Scalable: Easily expand your setup as your needs grow.
Why Should You Use Raspberry Pi for Cloud Management?
If you’re wondering why Raspberry Pi is such a popular choice for cloud management, let me tell you—it’s all about the bang for your buck. This little device packs a punch when it comes to performance, and it’s perfect for hobbyists, students, and even professionals looking to experiment with cloud technologies.
Here are a few reasons why Raspberry Pi stands out:
- Low power consumption: Runs on minimal energy, making it eco-friendly.
- Open-source support: A vast community and tons of resources available.
- Compact size: Easy to set up and move around.
Setting Up Your Raspberry Pi for Cloud Management
Now that you know why Raspberry Pi is awesome, let’s talk about how to set it up for cloud management. This part’s crucial because you want to ensure your device is ready to handle the workload. Follow these steps:
Step 1: Gather Your Materials
Read also:Unveiling Billie Eilish The Fascination Behind The Billie Eilish Nude Trend
- Raspberry Pi (any model will do, but newer models have better performance).
- MicroSD card (at least 16GB).
- Power supply (preferably a USB-C adapter).
- HDMI cable and monitor (optional if you’re using headless mode).
Step 2: Install the Operating System
For cloud management, you’ll want to use an OS like Raspberry Pi OS or Ubuntu Server. These are lightweight and perfect for running cloud services. Use the Raspberry Pi Imager tool to flash the OS onto your MicroSD card.
Tips for a Smooth Installation
Here are a few tips to make your installation process smoother:
- Always download the latest version of the OS from the official website.
- Make sure your MicroSD card is formatted correctly before flashing the OS.
- Double-check your connections and power supply before booting up.
Choosing the Right Cloud Services
Once your Raspberry Pi is up and running, it’s time to decide which cloud services you want to manage. The options are endless, but here are some popular choices:
- Nextcloud: Perfect for personal file storage and sharing.
- Docker: Ideal for running containerized applications.
- Kubernetes: Great for managing multiple containers at scale.
Each of these services has its own setup process, but don’t worry—we’ll cover them in detail later on.
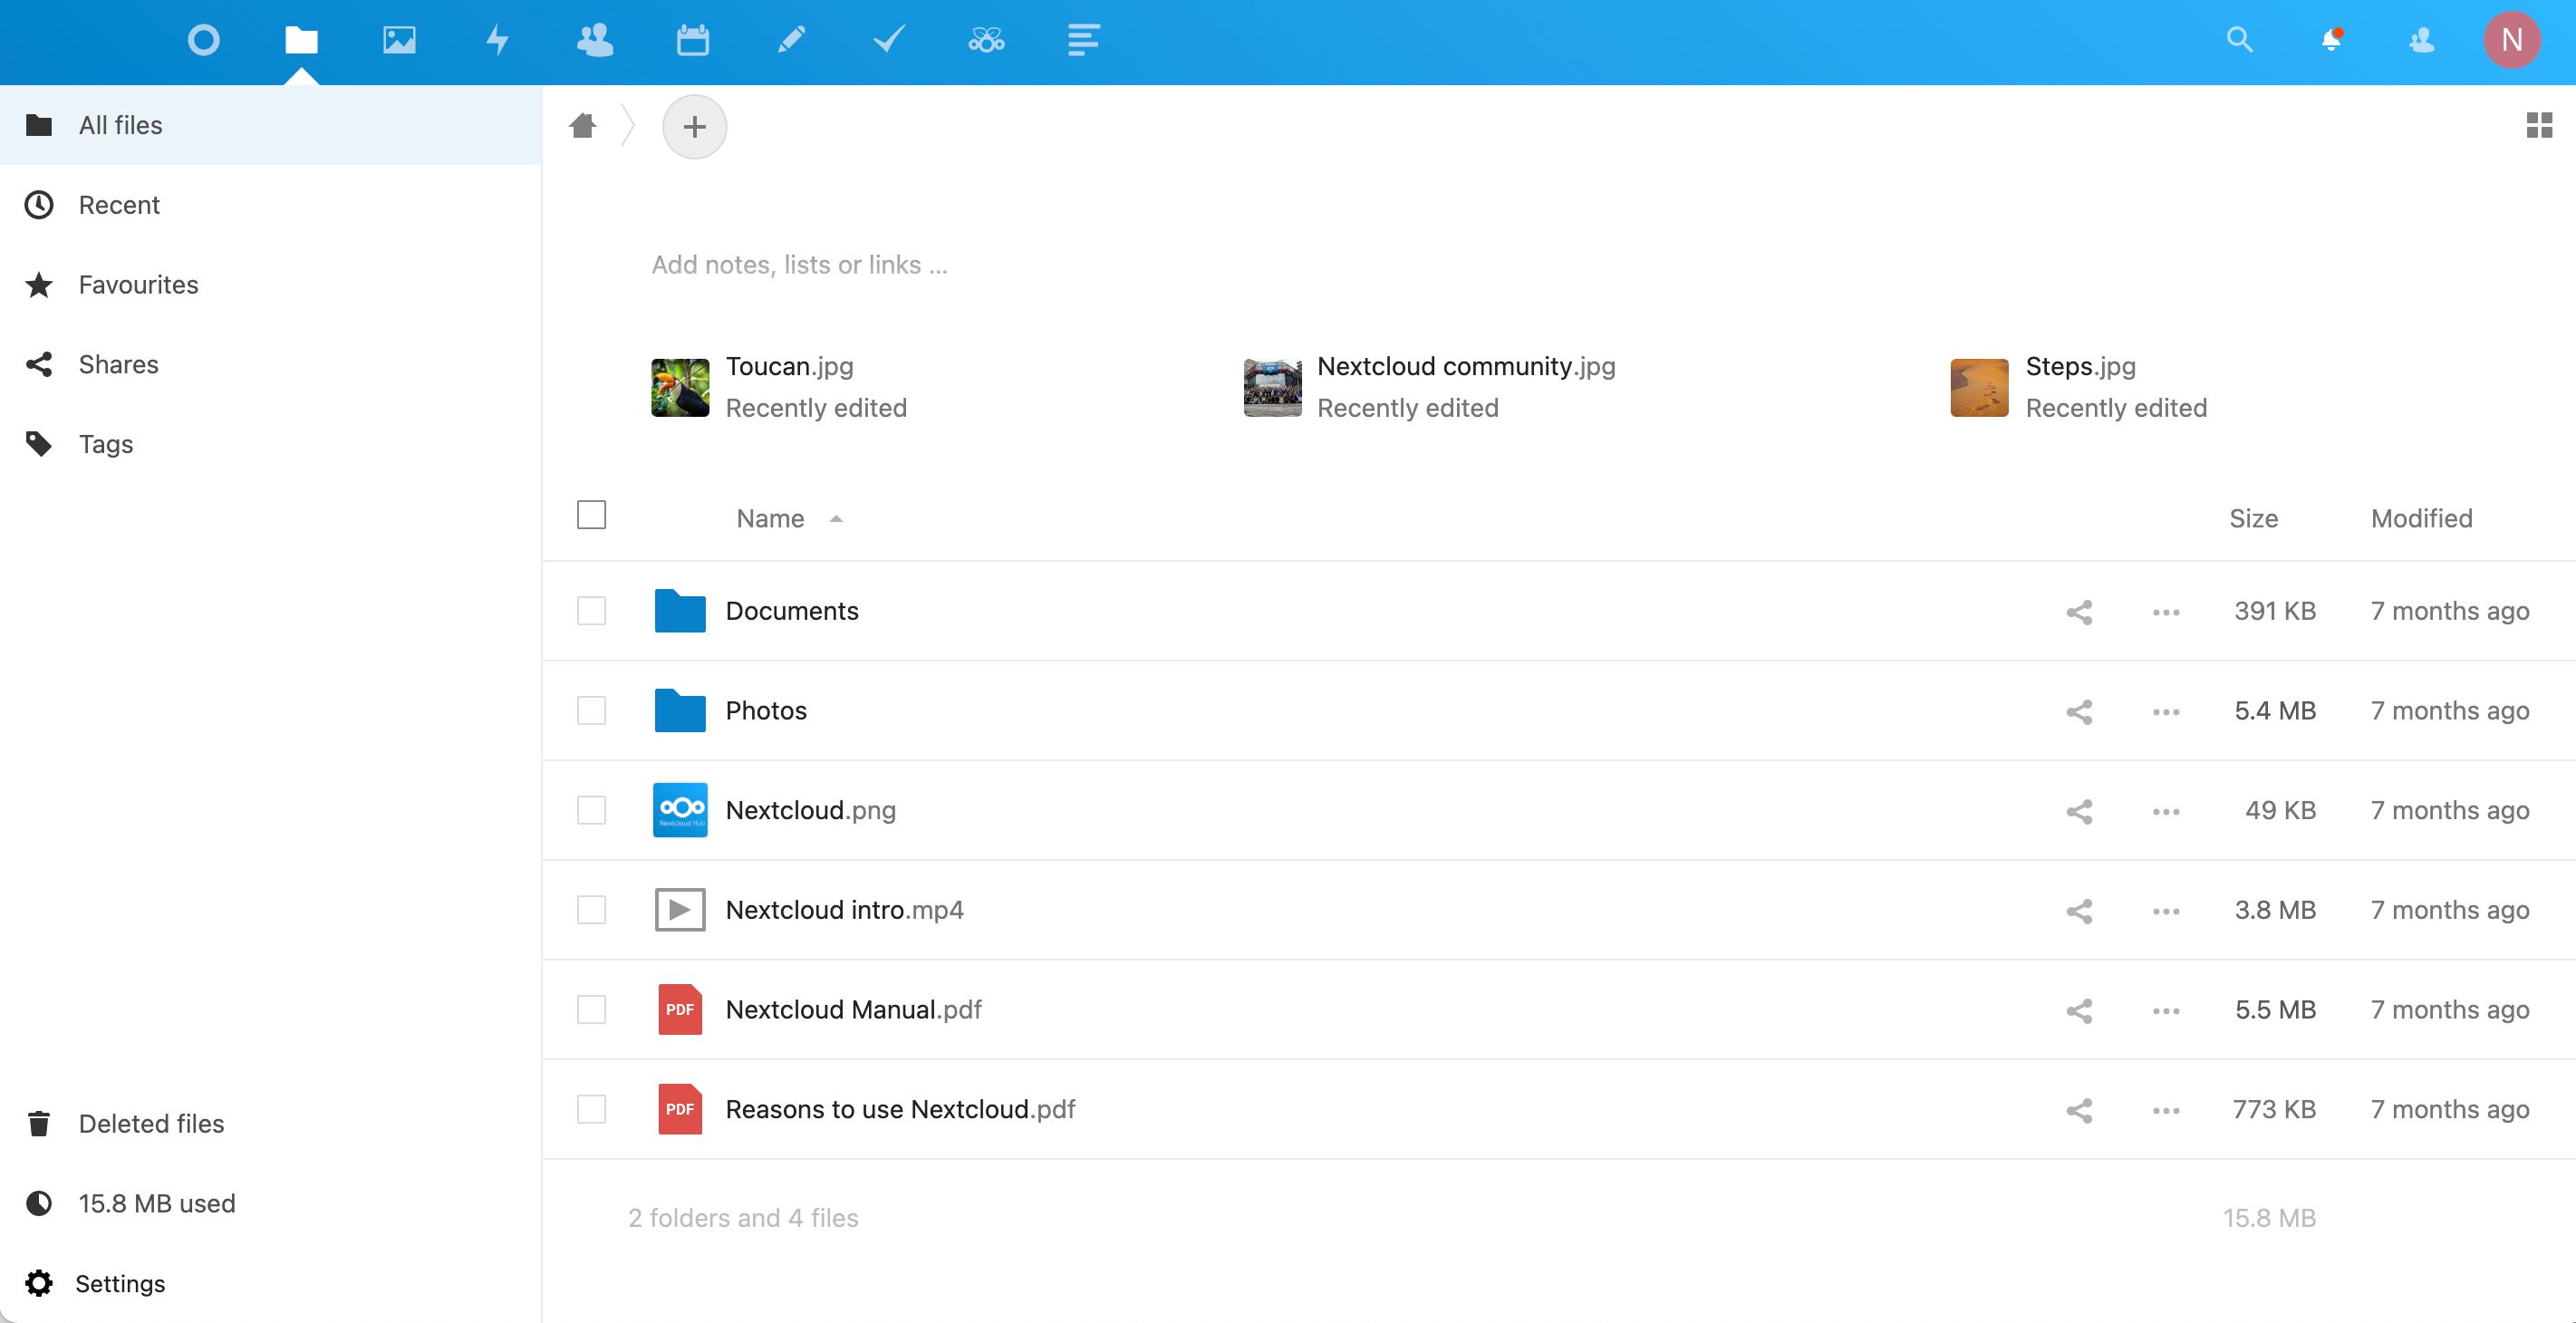
Configuring Nextcloud on Raspberry Pi
Let’s dive into one of the most popular cloud services: Nextcloud. This open-source platform allows you to store and share files securely, making it a great choice for personal or small business use.
Step 1: Install Nextcloud
First, you’ll need to install Nextcloud on your Raspberry Pi. You can do this using the command line:
sudo apt update && sudo apt upgrade
sudo apt install nextcloud
Step 2: Configure the Web Interface
Once installed, you can access the Nextcloud web interface by typing your Raspberry Pi’s IP address into a browser. From there, you can create user accounts, set up storage, and customize settings to your liking.
Best Practices for Nextcloud
Here are a few best practices to keep in mind:
- Use strong passwords for all user accounts.
- Enable two-factor authentication for added security.
- Regularly back up your data to prevent loss.
Managing Docker Containers
If you’re looking to run more complex applications, Docker is your go-to solution. Docker containers allow you to package and deploy applications with all their dependencies, ensuring they run consistently across different environments.
Step 1: Install Docker
Installing Docker on your Raspberry Pi is straightforward:
curl -fsSL https://get.docker.com -o get-docker.sh
sudo sh get-docker.sh
Step 2: Run Your First Container
Now that Docker’s installed, you can start running containers. Try pulling a simple image like Hello World:
sudo docker run hello-world
Advanced Docker Tips
Here are some advanced tips for managing Docker containers:
- Use Docker Compose for managing multiple containers.
- Monitor container performance using Docker stats.
- Regularly update your images to ensure security.
Scaling Your Cloud Infrastructure
As your needs grow, you might find yourself wanting to scale your cloud infrastructure. This is where tools like Kubernetes come in. Kubernetes allows you to automate the deployment, scaling, and management of containerized applications.
Step 1: Install Kubernetes
Installing Kubernetes on a Raspberry Pi can be a bit tricky, but it’s definitely doable. Start by setting up a Kubernetes cluster using k3s, a lightweight version of Kubernetes:
curl -sfL https://get.k3s.io | sh -
Step 2: Deploy Your First Application
With Kubernetes up and running, you can now deploy applications across multiple nodes. Use YAML files to define your deployments and services.
Scaling Best Practices
Here are some best practices for scaling your cloud infrastructure:
- Plan your architecture carefully before scaling.
- Monitor resource usage to avoid overloading your system.
- Regularly test your setup to ensure everything’s working as expected.
Securing Your Raspberry Pi Cloud
Security is a top priority when managing cloud services. Here are some tips to keep your Raspberry Pi cloud secure:
- Use firewalls to restrict access to your device.
- Regularly update your OS and applications to patch vulnerabilities.
- Enable encryption for sensitive data.
Troubleshooting Common Issues
Even the best setups can run into issues. Here are some common problems you might encounter and how to fix them:
- Connection Issues: Check your network settings and ensure your Raspberry Pi is connected to the internet.
- Performance Problems: Monitor resource usage and optimize your applications.
- Software Errors: Consult the official documentation or community forums for solutions.
Conclusion: Take Your Raspberry Pi Cloud Management to the Next Level
And there you have it—your complete guide to Raspberry Pi cloud management. From setting up your device to managing cloud services, we’ve covered everything you need to know to get started. Remember, the key to success is practice and experimentation, so don’t be afraid to try new things.
Now, here’s the fun part—what’s next? Consider exploring more advanced topics like machine learning on Raspberry Pi or setting up a home automation system. The possibilities are endless, and with your newfound knowledge, you’re ready to take on the world of cloud computing.
So, what are you waiting for? Grab your Raspberry Pi, roll up your sleeves, and start building your cloud empire today!
Table of Contents
- What is Raspberry Pi Cloud Management Anyway?
- Why Should You Use Raspberry Pi for Cloud Management?
- Setting Up Your Raspberry Pi for Cloud Management
- Choosing the Right Cloud Services
- Configuring Nextcloud on Raspberry Pi
- Managing Docker Containers
- Scaling Your Cloud Infrastructure
- Securing Your Raspberry Pi Cloud
- Troubleshooting Common Issues
- Conclusion: Take Your Raspberry Pi Cloud Management to the Next Level