So, you’ve decided to take matters into your own hands and remove those SNS nails safely at home. But wait, before you grab any random tools, let’s dive into the world of safe nail removal. Removing SNS nails might sound like a piece of cake, but trust me, doing it the right way is crucial to avoid damaging your natural nails. Whether you're a pro or a newbie, this guide will walk you through every step of the process.
Let’s be real, salon visits can get pricey, especially if you’re someone who loves switching up your nail game every week. That’s where DIY nail care comes in handy. Removing SNS nails at home not only saves you money but also gives you the freedom to do it on your schedule. Plus, who doesn’t love a little me-time while taking care of their nails?
In this article, we’ll explore effective ways to remove SNS nails safely at home without causing any damage. From the tools you need to the step-by-step process, we’ve got you covered. So, grab your favorite drink, sit back, and let’s get started on this nail care journey!
Read also:Exploring The Allure Of Andie Elle The Onlyfans Nudes Sensation
Why Removing SNS Nails Safely Matters
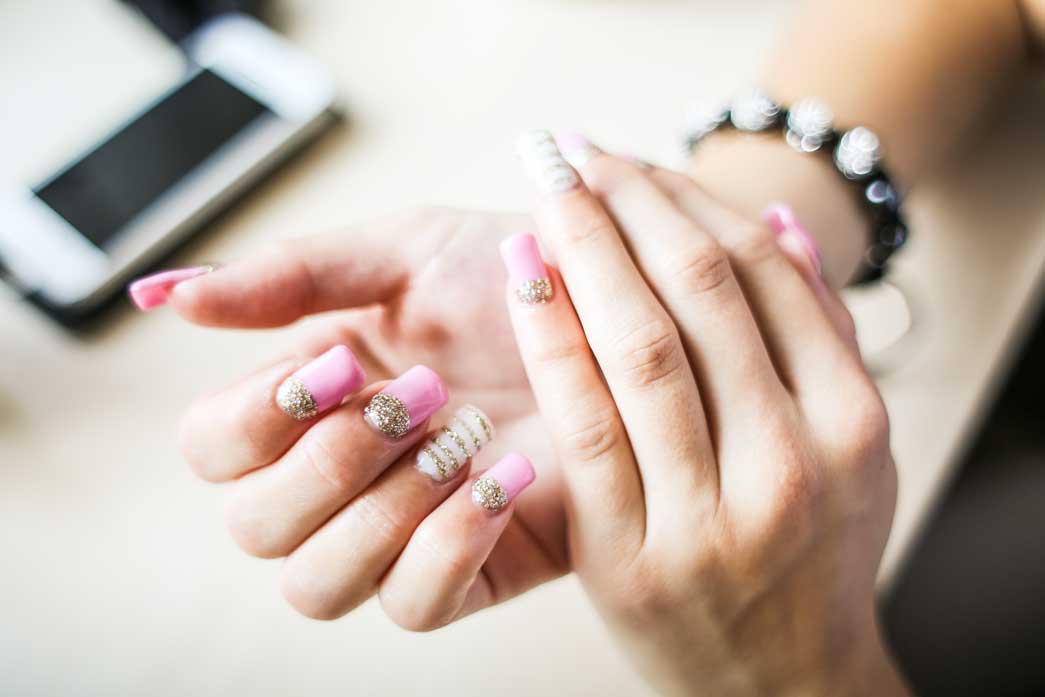
SNS nails, or Silk Nail Systems, are all the rage these days, and for good reason. They’re durable, shiny, and make your nails look fabulous. However, when it’s time to take them off, you need to be extra cautious. Removing them improperly can lead to nail damage, peeling, or even infection. No one wants that, right?
Here’s the deal: SNS nails are made of a gel-like substance that bonds strongly to your natural nails. This means you can’t just rip them off like a band-aid. Doing so can weaken your nails and leave them looking worse than when you started. The key is patience and the right technique.
Let’s break it down. Removing SNS nails safely involves using the correct tools, following a step-by-step process, and being gentle with your nails. It’s not rocket science, but it does require some attention to detail. Stick around, and we’ll show you how to do it like a pro.
Tools You’ll Need for Safe SNS Nail Removal
Before we dive into the how-to, let’s talk about what you’ll need. Having the right tools makes all the difference when it comes to removing SNS nails safely. Here’s a quick list:
- Nail file (100-180 grit)
- Cotton balls or pads
- Acetone-based nail polish remover
- Aluminum foil
- Cuticle pusher or orangewood stick
- Gloves (optional but recommended)
- Olive oil or cuticle oil
These tools are easy to find and won’t break the bank. Most of them are probably already in your nail kit. If not, a quick trip to your local drugstore or an online shopping spree will have you set in no time.
Step-by-Step Guide to Remove SNS Nails
Step 1: Prep Your Workspace
Alright, let’s get practical. The first step is to prep your workspace. Find a comfortable spot where you can sit and work on your nails without distractions. Gather all your tools and make sure everything is within reach. Trust me, you don’t want to be scrambling for something halfway through the process.
Read also:Rhea Ripley Nude Debunking Myths And Understanding The Truth
Step 2: File Down the SNS Nails
Now it’s time to get down to business. Using your nail file, gently file down the surface of the SNS nails. The goal here is to roughen up the smooth surface so the acetone can penetrate more easily. Don’t press too hard; you just want to create a textured surface. This step is crucial, so take your time.
Step 3: Soak Cotton Balls in Acetone
Next, soak your cotton balls or pads in acetone-based nail polish remover. Make sure they’re fully saturated but not dripping. Acetone is the key ingredient in breaking down the SNS gel, so don’t skip this step. If you’re worried about the smell, consider wearing gloves to protect your skin.
Step 4: Wrap Your Nails in Foil
Place a soaked cotton ball on each nail and wrap it securely with aluminum foil. This creates a seal that allows the acetone to work its magic. Leave the foil on for about 15-20 minutes. During this time, you can relax, scroll through your phone, or binge-watch your favorite show.
Step 5: Gently Remove the SNS Gel
After the allotted time, unwrap the foil and check your nails. The SNS gel should be soft and starting to lift. Use your cuticle pusher or orangewood stick to gently scrape away the gel. Be patient and work slowly to avoid damaging your natural nails. If the gel isn’t coming off easily, reapply the acetone and let it sit for a few more minutes.
Step 6: Cleanse and Moisturize
Once all the gel is removed, cleanse your nails with soap and water to remove any remaining acetone. Then, apply olive oil or cuticle oil to moisturize and nourish your nails. This final step is important for keeping your nails healthy and strong.
Common Mistakes to Avoid
Now that you know the steps, let’s talk about some common mistakes to avoid. These might seem small, but they can make a big difference in the outcome:
- Don’t use regular nail polish remover. Acetone is a must for breaking down the SNS gel.
- Don’t rush the process. Patience is key to avoiding damage to your natural nails.
- Don’t skip the moisturizing step. Your nails need love after all that acetone exposure.
Remember, taking care of your nails is an investment in your overall well-being. By avoiding these mistakes, you’ll ensure a smooth and safe removal process.
Tips for Maintaining Healthy Nails
Removing SNS nails safely is just the beginning. To keep your nails looking fabulous, here are some tips for maintaining healthy nails:
- Moisturize regularly to prevent dryness and brittleness.
- Use a base coat before applying polish to protect your nails.
- Avoid biting your nails or picking at polish.
- Trim your nails regularly to prevent breakage.
Healthy nails are the foundation for any nail art or enhancement. By following these tips, you’ll keep your nails in tip-top shape and ready for your next SNS application.
Understanding the Science Behind SNS Nails
Ever wondered how SNS nails work? Let’s break it down. SNS nails are made of a gel-like substance that bonds to your natural nails using UV or LED light. This creates a strong, durable layer that lasts for weeks. However, the same bond that makes them strong also makes them tricky to remove.
The acetone works by breaking down the chemical bonds in the gel, allowing you to gently lift it off. This process requires time and patience, which is why rushing can lead to damage. Understanding the science behind SNS nails helps you appreciate the importance of proper removal techniques.
Alternatives to DIY Removal
If DIY removal isn’t your thing, there are alternatives. Many salons offer SNS nail removal services that ensure your nails are taken care of by professionals. While this option may cost more, it can be worth it if you’re short on time or unsure about the process.
Another alternative is to use specialized SNS nail removal kits available online. These kits come with all the tools and instructions you need for a hassle-free removal experience. Just make sure to read reviews and choose a reputable brand.
FAQs About SNS Nail Removal
Can I soak my hands in acetone to remove SNS nails?
No, soaking your hands in acetone is not recommended. It can dry out your skin and cause irritation. Stick to the foil wrap method for safer results.
How long does it take to remove SNS nails at home?
The process typically takes about 30-45 minutes, depending on how thick the SNS gel is. Patience is key!
Will removing SNS nails damage my natural nails?
Not if you do it correctly. Following the steps outlined in this guide will help you avoid any damage to your natural nails.
Conclusion
Removing SNS nails safely at home is easier than you think. With the right tools, techniques, and a little patience, you can achieve professional results from the comfort of your own home. Remember to take your time, follow the steps carefully, and moisturize afterward to keep your nails healthy and strong.
So, what are you waiting for? Give it a try and see how amazing your nails can look without the salon price tag. Don’t forget to share your experience in the comments below and check out our other articles for more nail care tips!
Table of Contents
- Why Removing SNS Nails Safely Matters
- Tools You’ll Need for Safe SNS Nail Removal
- Step-by-Step Guide to Remove SNS Nails
- Common Mistakes to Avoid
- Tips for Maintaining Healthy Nails
- Understanding the Science Behind SNS Nails
- Alternatives to DIY Removal
- FAQs About SNS Nail Removal
- Conclusion