Are you tired of being stuck trying to figure out how to use SSH remote on your Mac without spending a dime? Well, you’re not alone, my friend. Many people have the same struggle when diving into the world of remote connections. SSH (Secure Shell) is one of the most powerful tools out there for securely connecting to remote servers or IoT devices, and the best part? You can do it all for free on your Mac. So, buckle up because we’re about to take you on a journey through the ins and outs of SSH remote connections.
Now, before we dive headfirst into the nitty-gritty details, let me paint a picture for you. Imagine being able to control a device miles away from your current location, all with just a few commands. That’s exactly what SSH allows you to do. It’s like having a remote control for your digital life, but instead of controlling your TV, you’re controlling servers, IoT devices, and more. And guess what? Your Mac has everything you need to get started, no fancy software required.
In this guide, we’ll walk you through everything you need to know about SSH remote connections on Mac. From setting up your environment to troubleshooting common issues, we’ve got you covered. Whether you’re a tech enthusiast or just someone trying to wrap their head around this whole SSH thing, this article is here to help. So, let’s get started!
Read also:Vegamoviesrs Your Ultimate Destination For Entertainment And Movie Streaming
Table of Contents
- What is SSH?
- Why Use SSH for Remote Connections?
- How to Use SSH on Mac
- Setting Up a Remote Server
- Connecting to a Remote Device
- Using SSH Keys for Secure Authentication
- Troubleshooting Common SSH Issues
- Securing Your SSH Connection
- Using SSH for IoT Devices
- Conclusion
What is SSH?
Let’s start with the basics. SSH stands for Secure Shell, and it’s essentially a protocol that lets you securely connect to a remote server or device. Think of it as a secure tunnel that allows you to send commands and transfer data without worrying about prying eyes. SSH is widely used in the tech world because it’s not only secure but also super versatile.
Here’s the deal: SSH uses encryption to protect your data while it’s being transmitted over the internet. This means that even if someone tries to intercept your connection, they won’t be able to make sense of what’s being sent. It’s like speaking in a secret code that only you and the server understand.
Why SSH Matters
SSH isn’t just about security; it’s also about convenience. With SSH, you can:
- Remotely manage servers from anywhere in the world.
- Transfer files securely using the SFTP protocol.
- Automate tasks with scripts and cron jobs.
- Access IoT devices like Raspberry Pi or Arduino boards.
And the best part? You can do all of this for free on your Mac. No expensive software required!
Why Use SSH for Remote Connections?
So, why should you care about SSH? Well, here’s the thing: in today’s interconnected world, being able to remotely access devices is becoming more and more important. Whether you’re a developer managing a server, a hobbyist tinkering with IoT devices, or even just someone who wants to access their home computer while on vacation, SSH has got your back.
Here are a few reasons why SSH is the go-to choice for remote connections:
Read also:Exploring The Allure Of Anna Malygon On Onlyfans A Deep Dive Into Her Rise And Appeal
- It’s secure: SSH encrypts all data, making it nearly impossible for hackers to intercept your connection.
- It’s reliable: SSH connections are stable and can handle large amounts of data without breaking a sweat.
- It’s cross-platform: SSH works on Mac, Windows, Linux, and even mobile devices.
- It’s free: You don’t need to spend a penny to use SSH on your Mac.
Now that you know why SSH is so awesome, let’s move on to the fun part – actually using it!
How to Use SSH on Mac
Your Mac comes pre-equipped with everything you need to use SSH. No need to download any extra software or pay for subscriptions. All you need is the Terminal app, which is already installed on your Mac. Here’s how you can get started:
Step 1: Open Terminal
First things first, you’ll need to open the Terminal app. You can find it by searching for “Terminal” in Spotlight or navigating to Applications > Utilities > Terminal. Once you’ve got it open, you’re ready to roll.
Step 2: Connect to a Remote Server
To connect to a remote server, you’ll need to know its IP address or domain name, as well as the username you’ll be using. Once you have that info, type the following command into Terminal:
ssh username@server_address
Replace “username” with your actual username and “server_address” with the IP address or domain name of the server you’re trying to connect to. Hit enter, and you’ll be prompted to enter your password. Once you’ve entered it, you’ll be logged in!
Setting Up a Remote Server
Before you can connect to a remote server, you’ll need to set one up. Don’t worry; it’s not as complicated as it sounds. Here’s a quick rundown of what you need to do:
Step 1: Install SSH on the Server
Most modern servers come with SSH pre-installed, but if yours doesn’t, you’ll need to install it manually. On Linux-based servers, you can usually do this by running the following command:
sudo apt-get install openssh-server
Step 2: Configure SSH
Once SSH is installed, you’ll want to configure it to suit your needs. This involves editing the SSH configuration file, which is usually located at /etc/ssh/sshd_config. You can do this using a text editor like nano or vim. Some common configurations include:
- Changing the default port (which is usually 22).
- Disabling password authentication in favor of SSH keys.
- Restricting access to specific users or IP addresses.
Connecting to a Remote Device
Now that your server is set up, it’s time to connect to it. Here’s how you can do it:
Step 1: Enter the SSH Command
As we mentioned earlier, the basic SSH command looks like this:
ssh username@server_address
Just replace “username” and “server_address” with the appropriate values for your setup.
Step 2: Enter Your Password
Once you hit enter, you’ll be prompted to enter your password. Type it in carefully – remember, your password won’t show up as you type for security reasons.
Step 3: Start Exploring
Congratulations! You’re now connected to your remote server. From here, you can start running commands, transferring files, and doing all sorts of cool stuff.
Using SSH Keys for Secure Authentication
Using passwords is fine, but if you really want to up your security game, you should consider using SSH keys. SSH keys are a pair of cryptographic keys that allow you to authenticate without needing to enter a password every time. Here’s how you can set them up:
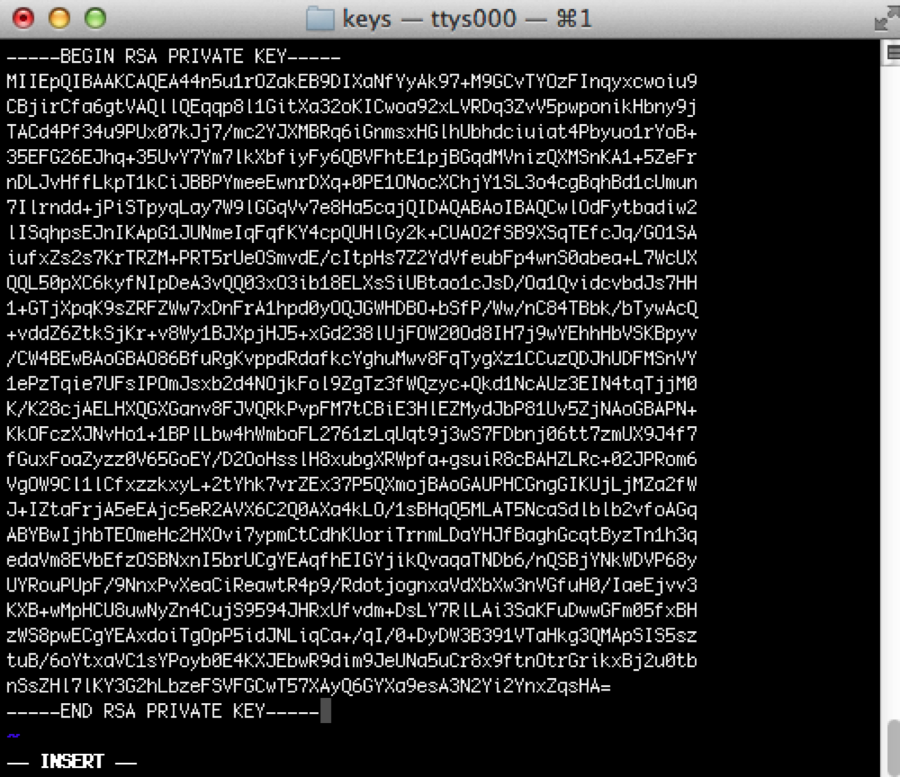
Step 1: Generate an SSH Key Pair
To generate an SSH key pair, open Terminal and type the following command:
ssh-keygen -t rsa -b 4096
This will create a public and private key pair. The public key will be stored in ~/.ssh/id_rsa.pub, and the private key will be stored in ~/.ssh/id_rsa.
Step 2: Copy the Public Key to the Server
Once you’ve generated your keys, you’ll need to copy the public key to the server you want to connect to. You can do this using the ssh-copy-id command:
ssh-copy-id username@server_address
That’s it! From now on, you’ll be able to log in to the server without needing to enter a password.
Troubleshooting Common SSH Issues
Even the best-laid plans can sometimes go awry. If you’re having trouble connecting to a remote server via SSH, here are a few things you can check:
- Make sure the server’s SSH service is running.
- Check that the firewall isn’t blocking the SSH port (usually 22).
- Verify that the username and server address you’re using are correct.
- Ensure that your private key is properly configured if you’re using SSH keys.
If none of these solutions work, don’t panic. There are plenty of online resources and forums where you can find help.
Securing Your SSH Connection
Security should always be a top priority when working with SSH. Here are a few tips to help you keep your connections safe:
- Use strong, unique passwords for your SSH accounts.
- Disable password authentication and use SSH keys instead.
- Change the default SSH port to something less obvious.
- Limit access to specific IP addresses if possible.
By following these best practices, you’ll significantly reduce the risk of unauthorized access to your servers.
Using SSH for IoT Devices
SSH isn’t just for servers; it’s also a great tool for working with IoT devices. Whether you’re controlling a Raspberry Pi or debugging an Arduino project, SSH can make your life a whole lot easier. Here’s how you can use SSH with IoT devices:
Step 1: Enable SSH on the Device
Most IoT devices have SSH disabled by default for security reasons. To enable it, you’ll usually need to modify a configuration file or use a graphical interface if one is available.
Step 2: Connect via SSH
Once SSH is enabled, you can connect to the device just like you would with a regular server. Just use the device’s IP address and the appropriate username.
Conclusion
And there you have it – a comprehensive guide to using SSH remote on your Mac for free. Whether you’re managing servers, tinkering with IoT devices, or just exploring the world of remote connections, SSH is an invaluable tool that every tech enthusiast should know how to use.
Remember, the key to mastering SSH is practice. Don’t be afraid to experiment with different configurations and settings to find what works best for you. And if you ever get stuck, don’t hesitate to reach out to the tech community for help.
So, what are you waiting for? Fire up that Terminal app and start exploring the world of SSH. Who knows? You might just discover something amazing along the way. And don’t forget to share this article with your friends – knowledge is power, after all!