Listen up, tech enthusiasts! If you're diving into the world of Raspberry Pi, mastering remote control via SSH is like unlocking a superpower. It’s not just about tinkering with your Pi; it’s about taking control of your projects from anywhere in the world. Whether you're managing servers, automating home systems, or just flexing your tech skills, SSH is your secret weapon. So, buckle up because we’re about to deep-dive into everything you need to know about Raspberry Pi remote control SSH!
Imagine this—you’re chilling on your couch, sipping coffee, and suddenly realize you need to tweak a script on your Raspberry Pi. No problem! With SSH, you can connect to your Pi from your laptop, phone, or even another computer miles away. Cool, right? But hold your horses, because there’s more to it than just typing a command. This guide will walk you through the ins and outs of setting up SSH, troubleshooting common issues, and making the most out of your Raspberry Pi remotely.
Before we jump into the nitty-gritty, let’s clear the air. SSH, or Secure Shell, is not some alien technology. Think of it as a secure tunnel that lets you communicate with your Raspberry Pi over a network. It’s like having a private hotline to your Pi, where you can send commands, transfer files, and manage settings without needing physical access. Ready to get started? Let’s go!
Read also:Deephotlinl Unlocking The Secrets Behind The Phenomenon
Understanding SSH and Its Role in Raspberry Pi
First things first, let’s break down what SSH really is and why it’s so crucial for Raspberry Pi users. SSH stands for Secure Shell, and it’s basically a protocol that allows you to access and control remote devices securely. Unlike other methods, SSH encrypts all data exchanged between your computer and the Raspberry Pi, keeping your information safe from prying eyes. It’s like having a secure conversation in a crowded room—only you and your Pi can understand what’s being said.
For Raspberry Pi enthusiasts, SSH is a game-changer. Whether you’re running a home automation system, managing a web server, or just experimenting with code, SSH lets you do it all remotely. You don’t need to sit in front of your Pi to make changes; you can control it from anywhere as long as you have an internet connection. Plus, SSH is lightweight and efficient, making it perfect for devices like the Raspberry Pi that don’t have a lot of processing power to spare.
Here’s a quick rundown of why SSH is awesome:
- Secure communication over networks
- Easy remote access to Raspberry Pi
- Supports file transfers and command execution
- Lightweight and efficient
- Compatible with most operating systems
Setting Up SSH on Your Raspberry Pi
Now that you know why SSH is important, let’s talk about how to set it up on your Raspberry Pi. Don’t worry—it’s not rocket science! Follow these steps, and you’ll be SSH-ing in no time:
Step 1: Enable SSH on Raspberry Pi
Starting from Raspberry Pi OS versions released in 2016, SSH is disabled by default for security reasons. But don’t panic; enabling it is super easy. Just boot up your Raspberry Pi, open the terminal, and type:
Read also:5movierulztc The Ultimate Guide To Navigating The World Of Movie Downloads
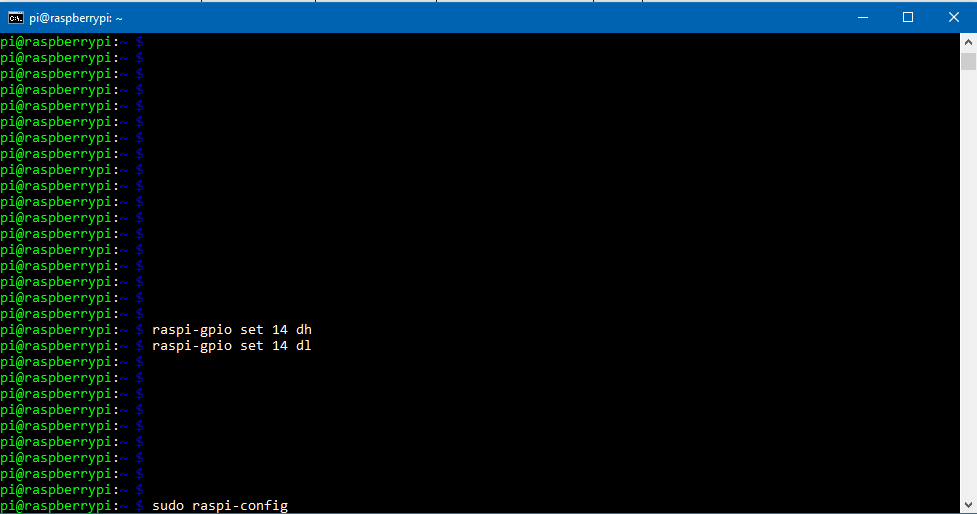
sudo raspi-config
From there, navigate to "Interfacing Options," select "SSH," and choose "Enable." Boom! You’re good to go.
Step 2: Find Your Pi’s IP Address
To connect to your Raspberry Pi via SSH, you’ll need its IP address. You can find it by typing:
hostname -I
This will display the IP address of your Pi. Make sure to note it down because you’ll need it for the next step.
Step 3: Connect Using an SSH Client
Now that SSH is enabled and you have your Pi’s IP address, it’s time to connect. If you’re using a Mac or Linux computer, you can use the built-in terminal. For Windows users, you’ll need an SSH client like PuTTY. Once you’ve got your client ready, type the following command:
ssh pi@[your-pi-ip-address]
Replace [your-pi-ip-address] with the actual IP address of your Pi. You’ll be prompted to enter the password for the "pi" user, which is usually "raspberry" unless you’ve changed it.
Tips for Securing Your SSH Connection
While SSH is secure by default, there are a few extra steps you can take to make it even more bulletproof:
- Change the default password for the "pi" user
- Disable password-based authentication and use SSH keys instead
- Change the default SSH port from 22 to something less obvious
- Set up a firewall to restrict access to your Pi
These measures might seem like overkill, but trust me, they’ll save you from potential headaches down the road.
Common Issues and How to Fix Them
Even the best-laid plans can hit a snag, and SSH is no exception. Here are some common issues you might encounter and how to fix them:
Problem 1: Can’t Connect to Raspberry Pi
This could be due to several reasons, such as a wrong IP address, firewall settings, or SSH being disabled. Double-check your IP address, ensure SSH is enabled, and verify that your firewall isn’t blocking the connection.
Problem 2: Permission Denied (Public Key)
If you’re using SSH keys and get this error, it probably means your key isn’t properly configured. Make sure your public key is added to the authorized_keys file on your Pi and that the permissions are set correctly.
Problem 3: Connection Timeout
This usually happens if your Pi isn’t connected to the network or if there’s a network issue. Check your Pi’s network settings and ensure it’s connected to the same network as your computer.
Advanced SSH Features for Raspberry Pi
Once you’ve mastered the basics, it’s time to level up your SSH game. Here are a few advanced features that can take your Raspberry Pi projects to the next level:
- SSH Tunnels: Use SSH to securely access services on your Pi, like web servers or databases
- SSHFS: Mount your Raspberry Pi’s filesystem on your local machine for easy file access
- Port Forwarding: Redirect traffic from one port to another for added flexibility
These features might sound complicated, but with a little practice, you’ll be using them like a pro in no time.
Using SSH for Remote File Management
One of the coolest things about SSH is its ability to transfer files between your computer and Raspberry Pi. Whether you’re uploading scripts, downloading logs, or syncing folders, SSH makes it all possible. Here’s how:
Option 1: SCP (Secure Copy Protocol)
SCP is a simple and effective way to transfer files over SSH. To copy a file from your computer to your Pi, use the following command:
scp [local-file-path] pi@[your-pi-ip-address]:[remote-file-path]
Replace the placeholders with your actual file paths and IP address.
Option 2: SFTP (Secure File Transfer Protocol)
SFTP is like an upgraded version of SCP, offering more features and better usability. Most SSH clients, including PuTTY and FileZilla, support SFTP out of the box. Just connect to your Pi using SFTP, and you’ll be able to browse and transfer files as if you were using a regular file manager.
Automating SSH Connections with Scripts
If you find yourself connecting to your Raspberry Pi via SSH frequently, why not automate the process? You can create a simple bash script that handles the SSH connection for you. Here’s an example:
#!/bin/bash
ssh pi@[your-pi-ip-address]
Save this script to a file, make it executable with chmod +x, and run it whenever you need to connect to your Pi. Easy peasy!
SSH Best Practices for Raspberry Pi
As with any technology, there are best practices you should follow to get the most out of SSH on your Raspberry Pi. Here are a few tips:
- Always use strong passwords or SSH keys
- Limit access to trusted devices and networks
- Keep your Raspberry Pi OS and SSH software up to date
- Regularly monitor your SSH logs for suspicious activity
Following these best practices will help ensure that your Raspberry Pi remains secure and reliable, even when accessed remotely.
Exploring Raspberry Pi Projects with SSH
Now that you’ve got SSH under your belt, it’s time to put it to good use. Here are a few Raspberry Pi projects that leverage SSH:
- Home Automation: Control smart devices and appliances from anywhere
- Web Server Management: Deploy and manage websites hosted on your Raspberry Pi
- Remote Backup System: Set up a secure backup server for your important files
Each of these projects offers unique challenges and opportunities to expand your skills. Plus, they’re all made easier with SSH, so you can focus on the fun stuff instead of worrying about connectivity.
SSH for Collaborative Projects
If you’re working on a Raspberry Pi project with others, SSH can be a lifesaver. By granting access to specific users and setting up proper permissions, you can collaborate seamlessly without compromising security. Just make sure to communicate clearly and establish guidelines for who can do what on the Pi.
Conclusion: Taking Control of Your Raspberry Pi
There you have it—your ultimate guide to Raspberry Pi remote control SSH. From setting up SSH to troubleshooting common issues and exploring advanced features, we’ve covered everything you need to know to take full control of your Raspberry Pi remotely. Remember, SSH is not just a tool; it’s a gateway to endless possibilities. So, go ahead and experiment, tinker, and create amazing projects with your Raspberry Pi.
Before you go, don’t forget to leave a comment and share your thoughts on this guide. If you found it helpful, consider sharing it with your friends and fellow Raspberry Pi enthusiasts. And hey, if you’re hungry for more tech tips and tricks, stick around—there’s plenty more where this came from!
Table of Contents
- Understanding SSH and Its Role in Raspberry Pi
- Setting Up SSH on Your Raspberry Pi
- Common Issues and How to Fix Them
- Advanced SSH Features for Raspberry Pi
- Using SSH for Remote File Management
- Automating SSH Connections with Scripts
- SSH Best Practices for Raspberry Pi
- Exploring Raspberry Pi Projects with SSH
- SSH for Collaborative Projects
- Conclusion: Taking Control of Your Raspberry Pi