Hey there, tech enthusiasts! If you're reading this, chances are you've heard about Raspberry Pi and its incredible potential for IoT projects. But what if I told you that you could take it a step further by integrating it with AWS VPC? Sounds exciting, right? In this Raspberry Pi VPC IoT tutorial, we’ll dive deep into how you can set up your own cloud-based IoT network using Raspberry Pi and Amazon Virtual Private Cloud (VPC).
Let's be real here—IoT projects can get pretty overwhelming, especially when you're just starting out. But don’t worry, because we’ve got your back. This tutorial is designed to break down complex concepts into bite-sized chunks, so even if you're a complete beginner, you'll be able to follow along effortlessly. Think of it as your personal cheat sheet to mastering Raspberry Pi VPC IoT projects.
Before we jump into the nitty-gritty details, let me just say this: if you've ever wanted to create a secure, scalable, and cost-effective IoT setup, you're in the right place. This guide will walk you through everything from setting up your Raspberry Pi to configuring VPC and deploying IoT applications. So grab your favorite beverage, sit back, and let's get started!
Read also:Unleashing The Power Of Vega Movies Website Your Ultimate Movie Hub
Table of Contents
- What is Raspberry Pi VPC IoT?
- Raspberry Pi: A Quick Overview
- Understanding AWS VPC Basics
- Benefits of Combining Raspberry Pi with VPC for IoT
- Hardware and Software Requirements
- Step-by-Step Raspberry Pi VPC IoT Tutorial
- Common Issues and Troubleshooting Tips
- Securing Your Raspberry Pi VPC IoT Setup
- Scaling Your IoT Network
- Conclusion and Next Steps
What is Raspberry Pi VPC IoT?
Alright, let's start with the basics. Raspberry Pi VPC IoT refers to the integration of Raspberry Pi devices with Amazon Web Services’ (AWS) Virtual Private Cloud (VPC) to create a secure and scalable IoT network. Essentially, it allows you to connect your Raspberry Pi devices to the cloud, enabling them to communicate with each other and other systems in a controlled environment.
Now, why would you want to do this? Well, imagine having a smart home system where all your devices are connected and can be monitored and controlled remotely. Or think about building an industrial automation setup where sensors send real-time data to a centralized dashboard. That’s exactly what Raspberry Pi VPC IoT can help you achieve.
Raspberry Pi: A Quick Overview
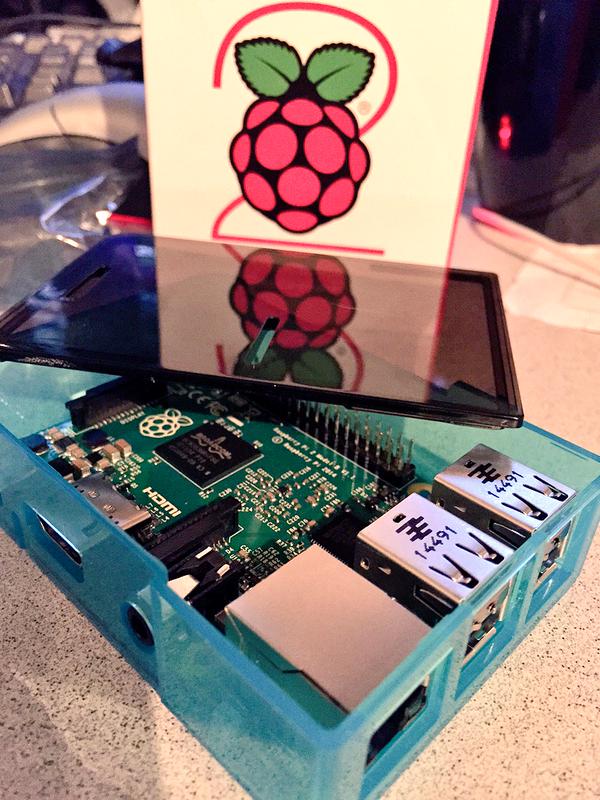
For those who might not be familiar with Raspberry Pi, it’s essentially a small, affordable computer that can be used for a wide range of applications, from basic computing to complex robotics projects. It’s like the Swiss Army knife of the tech world—compact, versatile, and super powerful.
Here are some key features of Raspberry Pi:
- Compact size and low power consumption
- Multiple GPIO pins for connecting sensors and actuators
- Support for various operating systems, including Linux-based distributions
- A thriving community of developers and enthusiasts who share knowledge and resources
Why Choose Raspberry Pi for IoT Projects?
Raspberry Pi has become a go-to choice for IoT enthusiasts for several reasons:
- Cost-effective hardware
- Highly customizable and flexible
- Wide range of compatible accessories and add-ons
- Great for both hobbyists and professionals
Understanding AWS VPC Basics
Now, let’s talk about AWS VPC. In simple terms, VPC is a virtual network that you can define in AWS to isolate your resources from the public internet. It’s like having your own private cloud where you can control who has access to your data and how it flows.
Read also:Revolutionize Your Iot Projects With Remoteiot Platform Download
Here are some key components of AWS VPC:
- Subnets: Divisions of your VPC that allow you to group resources based on their purpose or location.
- Security Groups: Act as virtual firewalls to control inbound and outbound traffic to your instances.
- Route Tables: Determine how traffic is routed within your VPC and to the internet.
Why Use AWS VPC for IoT?
Using AWS VPC for IoT provides several advantages:
- Enhanced security through isolation and access control
- Scalability to accommodate growing numbers of devices
- Reliability with automatic failover and redundancy
Benefits of Combining Raspberry Pi with VPC for IoT
When you combine Raspberry Pi with AWS VPC, you unlock a whole new level of possibilities for your IoT projects. Here are some of the key benefits:
- Security: By isolating your IoT devices in a VPC, you reduce the risk of unauthorized access and cyberattacks.
- Scalability: As your IoT network grows, VPC allows you to easily add more devices and resources without compromising performance.
- Flexibility: You can deploy a wide variety of IoT applications, from home automation to industrial monitoring, all within the same VPC.
Plus, with Raspberry Pi's versatility and AWS's powerful cloud services, the sky's the limit when it comes to what you can achieve.
Hardware and Software Requirements
Before you dive into the Raspberry Pi VPC IoT tutorial, make sure you have all the necessary hardware and software. Here's what you'll need:
Hardware Requirements
- Raspberry Pi 4 (or equivalent)
- MicroSD card with at least 16GB capacity
- Power supply for Raspberry Pi
- USB keyboard and mouse
- HDMI monitor (optional)
Software Requirements
- Raspberry Pi OS (previously known as Raspbian)
- AWS CLI (Command Line Interface)
- Python and related libraries for IoT development
Once you have everything ready, you're all set to proceed with the tutorial.
Step-by-Step Raspberry Pi VPC IoT Tutorial
Now, let's get our hands dirty and walk through the steps to set up your Raspberry Pi VPC IoT network.
Step 1: Set Up Your Raspberry Pi
First things first, you need to install the Raspberry Pi OS on your microSD card. You can use the Raspberry Pi Imager tool to do this. Once the OS is installed, boot up your Raspberry Pi and configure the basic settings, such as Wi-Fi and timezone.
Step 2: Create an AWS Account and Set Up VPC
Sign up for an AWS account if you don’t already have one. Then, navigate to the VPC dashboard and create a new VPC. Define your subnets, security groups, and route tables as per your requirements.
Step 3: Connect Raspberry Pi to AWS VPC
Use the AWS CLI to establish a secure connection between your Raspberry Pi and the VPC. This involves configuring SSH keys and setting up the necessary permissions.
Step 4: Deploy IoT Applications
Finally, deploy your IoT applications on the Raspberry Pi. This could be anything from a simple temperature monitoring system to a complex industrial automation setup. Use Python or any other programming language of your choice to write the application code.
Common Issues and Troubleshooting Tips
As with any tech project, you might run into a few issues along the way. Here are some common problems and how to solve them:
- Connection Issues: Make sure your Raspberry Pi is properly connected to the internet and that the SSH keys are correctly configured.
- Security Group Rules: Double-check your security group settings to ensure that the necessary ports are open for communication.
- Application Errors: If your IoT application isn’t working as expected, review the code for any syntax or logic errors.
Securing Your Raspberry Pi VPC IoT Setup
Security should always be a top priority when working with IoT devices. Here are some best practices to keep your Raspberry Pi VPC IoT setup secure:
- Regularly update your Raspberry Pi OS and installed packages to patch vulnerabilities.
- Use strong passwords and enable two-factor authentication wherever possible.
- Monitor your VPC for any suspicious activity and take immediate action if needed.
Scaling Your IoT Network
As your IoT network grows, you’ll need to scale your setup to accommodate more devices and data. Here are some tips for scaling your Raspberry Pi VPC IoT network:
- Add more subnets to organize your devices based on their functions.
- Use load balancers to distribute traffic evenly across your devices.
- Consider using AWS IoT Core for managing large-scale IoT deployments.
Conclusion and Next Steps
And there you have it—a comprehensive Raspberry Pi VPC IoT tutorial to help you get started with your own cloud-based IoT network. By following the steps outlined in this guide, you can create a secure, scalable, and efficient IoT setup that meets your needs.
So, what’s next? Well, now it’s your turn to take the reins and start experimenting with your Raspberry Pi VPC IoT projects. Whether you’re building a smart home system or an industrial automation solution, the possibilities are endless.
Don’t forget to share your experiences and insights in the comments below. And if you found this tutorial helpful, feel free to share it with your fellow tech enthusiasts. Happy tinkering, and see you in the next project!