So, you're looking to dive into the world of IoT (Internet of Things) and want to know how to use SSH to connect to your devices from anywhere using Ubuntu and Windows for free? Well, buckle up, because this is going to be a wild ride filled with tech tips, tricks, and some solid advice to help you master the art of remote SSH connections. Whether you're a beginner or an advanced user, this guide has got you covered.
Let’s start by breaking down what SSH even means. SSH stands for Secure Shell, and it's basically a protocol that lets you securely connect to a remote device over a network. Think of it as a secure tunnel between your computer and the IoT device you're trying to control. And guess what? You can do all of this for free using Ubuntu and Windows. Cool, right?
Before we dive deep into the nitty-gritty details, let's set the stage. This guide will walk you through everything you need to know about setting up SSH for IoT devices, troubleshooting common issues, and ensuring your connection remains secure. By the end of this, you'll feel like a pro, and your IoT projects will be running smoother than ever. Let’s get started!
Read also:Unveiling The Allure Camilla Araujos Naked Fame And Fascination
Why SSH is Essential for IoT Devices
Okay, so why should you even bother with SSH when it comes to IoT? Here's the deal: IoT devices are everywhere, from smart thermostats to security cameras. And while they make life easier, managing them remotely can be a pain if you don’t have the right tools. That's where SSH comes in. It allows you to remotely control and manage your IoT devices securely, no matter where you are in the world.
SSH is not just about convenience; it’s about security. Unlike other methods, SSH encrypts your data, making it harder for hackers to intercept your sensitive information. So, whether you're tinkering with a Raspberry Pi or managing a fleet of IoT sensors, SSH is your best friend.
And the best part? You can set it up for free on both Ubuntu and Windows. No expensive software or complicated configurations needed. Just follow this guide, and you'll be up and running in no time.
Setting Up SSH on Ubuntu
Alright, let's talk about how to set up SSH on Ubuntu. If you're using Ubuntu, you're already halfway there because SSH is pre-installed on most versions. But just in case, here’s what you need to do:
First, open up your terminal. You can do this by pressing Ctrl + Alt + T. Once you're in the terminal, type the following command to make sure SSH is installed:
sudo apt update and then sudo apt install openssh-server.
Read also:Sone436 The Revolutionary Breakthrough In Modern Science
This will install the SSH server if it’s not already installed. Now, to check if SSH is running, type sudo systemctl status ssh. If it says "active," you're good to go!
Troubleshooting SSH on Ubuntu
But what if SSH isn’t working? Don’t panic. There are a few common issues you might run into, but they’re all pretty easy to fix. Here’s a quick list:
- Firewall Issues: Make sure your firewall isn’t blocking SSH. You can allow SSH through the firewall by typing
sudo ufw allow ssh. - Port Conflicts: By default, SSH uses port 22. If something else is using that port, you might need to change it. Just edit the SSH config file with
sudo nano /etc/ssh/sshd_configand change the port number. - Network Problems: Ensure your device is connected to the internet and that your router isn’t blocking incoming connections.
Once you’ve got SSH up and running on Ubuntu, you’re ready to connect to your IoT devices from anywhere.
Setting Up SSH on Windows
Now, let’s switch gears and talk about setting up SSH on Windows. Believe it or not, Windows 10 and later versions come with built-in SSH support. You just need to enable it. Here’s how:
First, open up the "Settings" app and go to "Apps." From there, click on "Optional Features" and then "Add a Feature." Search for "OpenSSH Client" and install it. That’s it! You now have SSH on your Windows machine.
To connect to an IoT device, open up the command prompt or PowerShell and type ssh username@ip_address. Replace "username" with the username of your IoT device and "ip_address" with the actual IP address of the device.
Enhancing Security on Windows
While SSH is secure by default, there are a few extra steps you can take to make it even more secure on Windows:
- Use Strong Passwords: Always use strong, unique passwords for your IoT devices. Avoid using common words or phrases.
- Enable Two-Factor Authentication: If your device supports it, enable two-factor authentication for an extra layer of security.
- Keep Your System Updated: Make sure your Windows machine and all connected IoT devices are running the latest software updates.
With these steps, you can rest assured that your SSH connections are as secure as possible.
Connecting to IoT Devices from Anywhere
So, you’ve got SSH set up on both Ubuntu and Windows, but how do you connect to your IoT devices from anywhere? The key is using a technique called port forwarding. Port forwarding allows you to access your IoT devices from outside your local network.
Here’s how to set it up:
- Login to Your Router: Open up your web browser and type in your router’s IP address. This is usually something like 192.168.0.1 or 192.168.1.1.
- Find the Port Forwarding Section: Look for a section in your router’s settings called "Port Forwarding" or "Virtual Servers."
- Add a New Rule: Create a new rule and set the external port to 22 (or whatever port you’re using for SSH). Set the internal IP address to the IP address of your IoT device.
Once you’ve set up port forwarding, you should be able to connect to your IoT device from anywhere by using its public IP address.
Ensuring Security with SSH
Security is always a top priority, especially when dealing with IoT devices. Here are a few tips to keep your SSH connections secure:
- Disable Root Login: Never allow root login over SSH. Instead, create a regular user account and use that to connect.
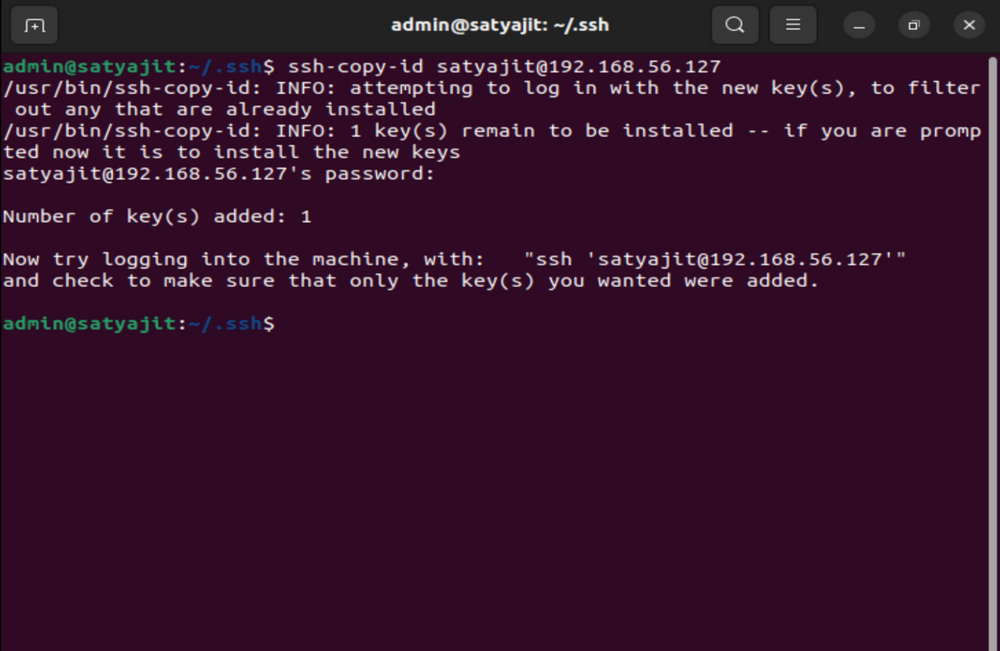
- Use Key-Based Authentication: Instead of using passwords, use SSH keys for authentication. This is much more secure and less prone to brute-force attacks.
- Monitor Logs: Regularly check your SSH logs for any suspicious activity. You can find these logs in
/var/log/auth.logon Ubuntu.
By following these security tips, you can protect your IoT devices from potential threats.
Common Mistakes to Avoid
Now, let’s talk about some common mistakes people make when setting up SSH for IoT devices:
- Using Weak Passwords: This is a big no-no. Always use strong, unique passwords for your IoT devices.
- Not Updating Software: Keeping your software up to date is crucial for security. Regularly check for updates and install them as soon as they’re available.
- Ignoring Firewall Settings: Your firewall is your first line of defense. Make sure it’s properly configured to allow SSH traffic while blocking everything else.
Avoiding these mistakes will save you a lot of headaches down the road.
Advanced SSH Techniques
Once you’ve mastered the basics, you can start exploring some advanced SSH techniques. Here are a few ideas:
- Tunneling: Use SSH tunneling to securely access services running on your IoT devices, like web servers or databases.
- SSHFS: Mount remote file systems over SSH, allowing you to access files on your IoT devices as if they were local.
- SSH Agent Forwarding: Use SSH agent forwarding to connect to multiple devices without having to enter your password each time.
These techniques can take your IoT projects to the next level, giving you more control and flexibility.
Resources and References
Here are a few resources and references to help you learn more about SSH and IoT:
These resources will provide you with more in-depth information and troubleshooting tips.
Conclusion
And there you have it, folks! You now know how to use SSH to connect to your IoT devices from anywhere using Ubuntu and Windows for free. Whether you’re a beginner or an advanced user, SSH is an essential tool for managing your IoT projects securely and efficiently.
So, what are you waiting for? Grab your laptop, fire up your terminal, and start exploring the world of IoT with SSH. And don’t forget to share this guide with your friends and colleagues. Together, we can make the world of IoT a safer and more connected place.
Call to Action: Leave a comment below and let us know how you’re using SSH for your IoT projects. We’d love to hear from you!
Table of Contents
- Why SSH is Essential for IoT Devices
- Setting Up SSH on Ubuntu
- Troubleshooting SSH on Ubuntu
- Setting Up SSH on Windows
- Enhancing Security on Windows
- Connecting to IoT Devices from Anywhere
- Ensuring Security with SSH
- Common Mistakes to Avoid
- Advanced SSH Techniques
- Resources and References