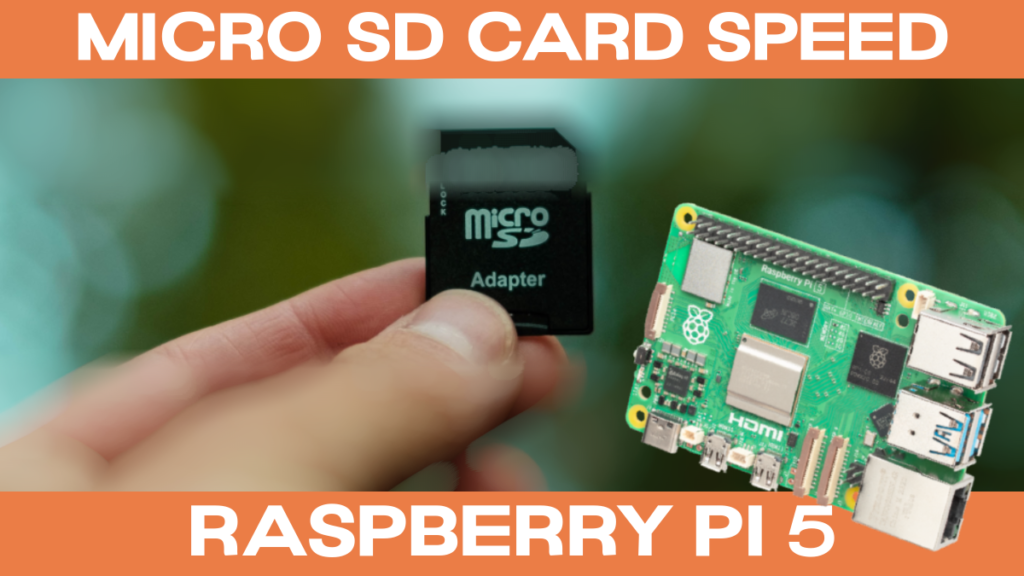
Hey there, tech enthusiasts and Raspberry Pi lovers! If you're here, chances are you're diving into the world of remote monitoring for your Raspberry Pi's SD card without breaking the bank. Let's be honest, who doesn’t want to keep an eye on their Pi's performance and storage without spending extra cash? In this guide, we’ll break down everything you need to know about remote monitoring your Raspberry Pi SD card for free. Whether you’re a beginner or a seasoned Pi guru, this article has got you covered.
Now, let’s get one thing straight—Raspberry Pi is more than just a tiny computer; it's a powerhouse for innovation, creativity, and problem-solving. But like any device, its SD card is the heart of its operation. Monitoring it remotely ensures your Pi stays healthy and performs at its best. So, why spend money on expensive tools when you can set up a free and efficient system?
In this guide, we’ll explore the ins and outs of remote monitoring your Raspberry Pi's SD card. From setting up the basics to troubleshooting common issues, we’ve got all the tips and tricks to keep your Pi running smoothly. Let’s dive in and make your Raspberry Pi dreams a reality!
Read also:Unveiling The World Of Sexy Film Videos A Comprehensive Guide
Table of Contents
- Why Monitor Your Raspberry Pi SD Card?
- Tools You'll Need for Free Monitoring
- Step-by-Step Setup Process
- Best Free Software Options
- Enabling Remote Access
- Securing Your Raspberry Pi
- Common Issues and Troubleshooting
- Optimizing Performance
- How Much Can You Save?
- Wrapping It All Up
Why Monitor Your Raspberry Pi SD Card?
Alright, let’s start with the basics. Why should you even bother monitoring your Raspberry Pi's SD card? Well, think of it this way: your Pi's SD card is like the engine of a car. If it’s not running smoothly, your entire project could come to a screeching halt. Monitoring helps you identify potential issues before they become major problems.
Here are a few reasons why remote monitoring your Raspberry Pi SD card is crucial:
- Prevent data loss by catching errors early.
- Optimize storage space for better performance.
- Ensure your Pi stays healthy and runs efficiently.
- Gain peace of mind knowing your device is under control.
And the best part? You can do all this without spending a dime. Free tools and software are readily available, and we’ll show you how to use them.
Tools You'll Need for Free Monitoring
Before we dive into the setup process, let’s talk about the tools you’ll need. Don’t worry; most of these are already included with your Raspberry Pi or can be downloaded for free. Here’s a quick rundown:
- Raspberry Pi (duh!)
- SSH client (like PuTTY for Windows users)
- Monitoring software (we’ll cover some options later)
- A stable internet connection
That’s it! No fancy gadgets or expensive gear required. With these tools, you’ll be ready to roll in no time.
Step-by-Step Setup Process
Now that you’ve got your tools ready, let’s walk through the setup process. This step-by-step guide will help you get your Raspberry Pi SD card monitoring system up and running in no time.
Read also:Park Bo Gum And Kim Yoo Jung Latest News The Hottest Updates You Need To Know
Step 1: Enable SSH on Your Raspberry Pi
First things first, you’ll need to enable SSH on your Raspberry Pi. SSH (Secure Shell) allows you to connect to your Pi remotely. Here’s how:
- Boot up your Raspberry Pi and log in.
- Open the terminal and type
sudo raspi-config. - Navigate to ‘Interfacing Options’ and select ‘SSH’.
- Choose ‘Enable’ and reboot your Pi.
Boom! SSH is now enabled. Easy peasy, right?
Step 2: Install Monitoring Software
Next, you’ll need to install some monitoring software. One popular option is htop, which provides real-time monitoring of your Pi’s resources. To install:
- Open the terminal and type
sudo apt update. - Then, type
sudo apt install htop. - Launch
htopby typinghtopin the terminal.
Now you’ve got a real-time view of your Pi’s performance. Cool, huh?
Best Free Software Options
When it comes to monitoring your Raspberry Pi SD card, there are plenty of free software options available. Here are a few of our favorites:
- htop: A real-time system monitor that shows CPU, memory, and disk usage.
- Glances: A more advanced monitoring tool that provides detailed stats.
- iotop: Specifically designed for monitoring disk I/O activity.
Each of these tools has its own strengths, so feel free to try them out and see which one works best for you.
Enabling Remote Access
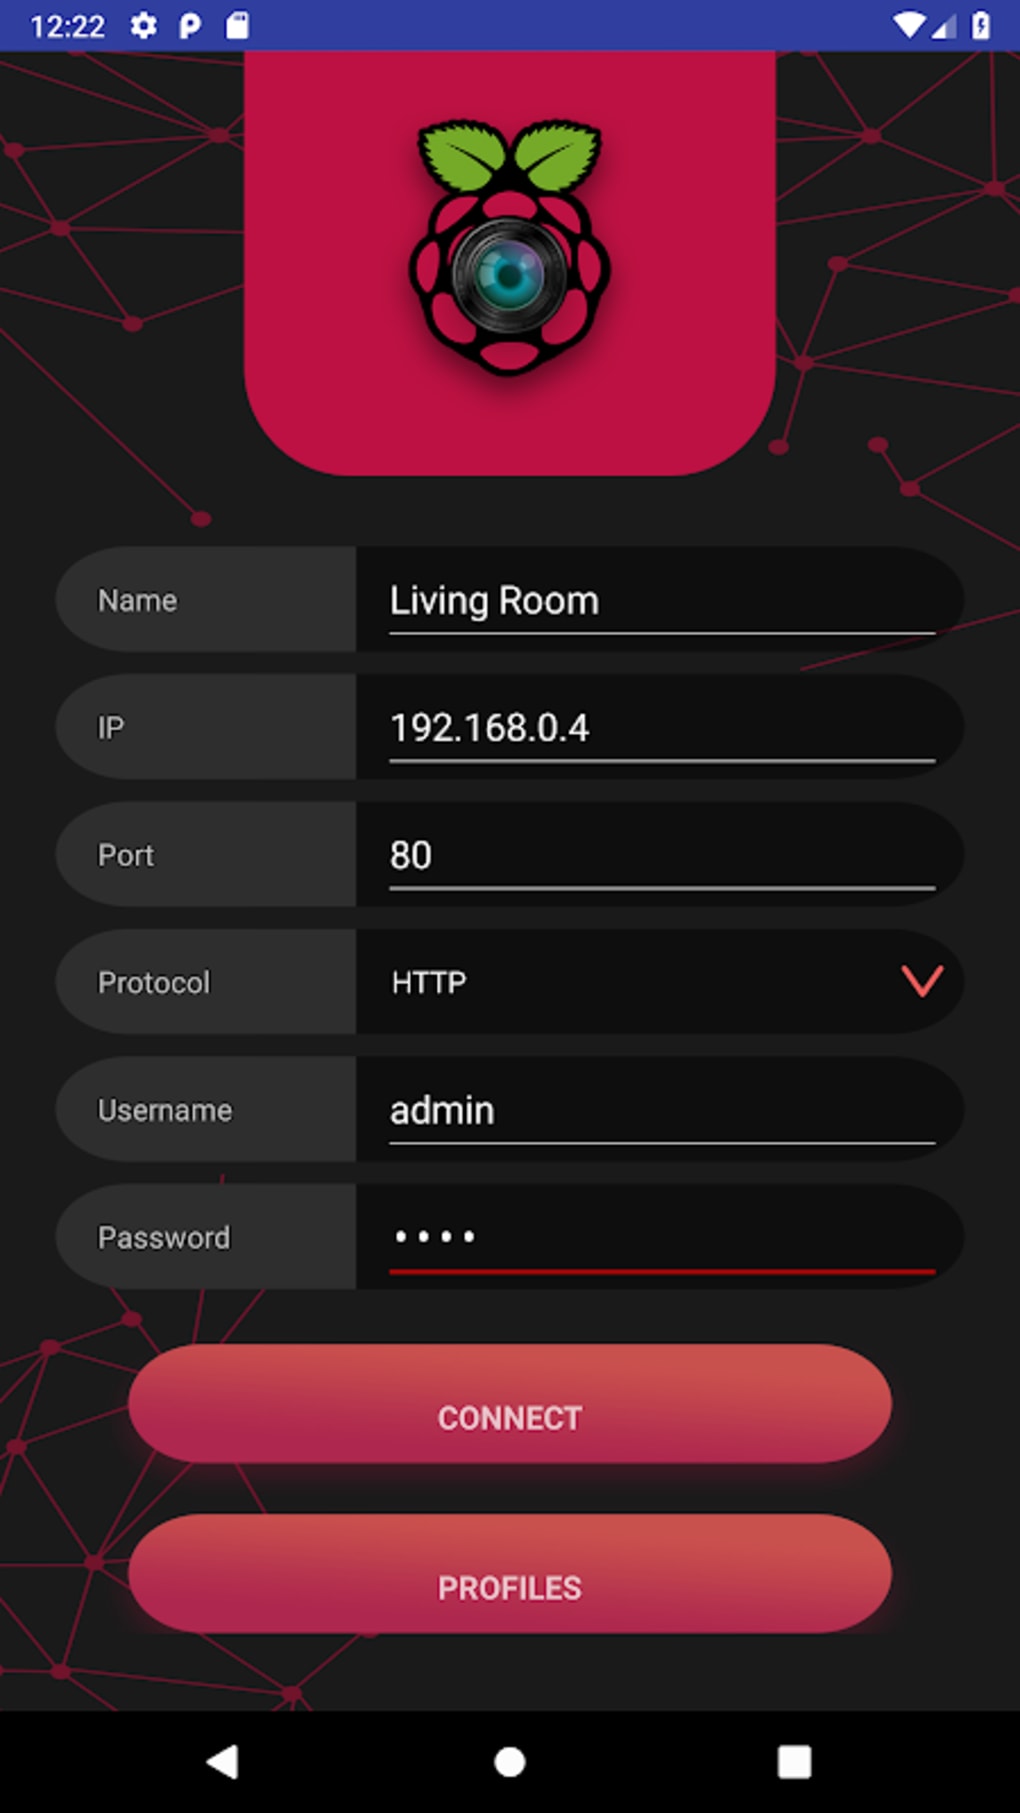
One of the coolest things about monitoring your Raspberry Pi SD card is that you can do it remotely. This means you can check on your Pi’s performance from anywhere in the world. Here’s how to set it up:
Step 1: Find Your Pi’s IP Address
To connect remotely, you’ll need to know your Pi’s IP address. In the terminal, type:
hostname -IThis will display your Pi’s IP address. Jot it down; you’ll need it later.
Step 2: Connect via SSH
Now that you’ve got your Pi’s IP address, you can connect to it remotely using an SSH client. For Windows users, PuTTY is a great option. Here’s how:
- Open PuTTY and enter your Pi’s IP address in the ‘Host Name’ field.
- Set the port to 22 and choose ‘SSH’ as the connection type.
- Click ‘Open’ and log in with your Pi’s username and password.
Voila! You’re now connected to your Pi remotely.
Securing Your Raspberry Pi
With great power comes great responsibility, and that’s especially true when it comes to securing your Raspberry Pi. Here are a few tips to keep your device safe:
- Change the default username and password.
- Enable a firewall to block unauthorized access.
- Keep your software up to date with
sudo apt update.
By following these simple steps, you can ensure your Pi stays secure and protected.
Common Issues and Troubleshooting
Even the best-laid plans can go awry sometimes. Here are a few common issues you might encounter and how to fix them:
Issue 1: Can’t Connect via SSH
If you’re having trouble connecting to your Pi via SSH, double-check the following:
- Make sure SSH is enabled on your Pi.
- Verify that your Pi’s IP address is correct.
- Ensure your network settings are configured properly.
Issue 2: Slow Performance
If your Pi’s performance seems sluggish, try the following:
- Clear up unused files and applications.
- Optimize your SD card using a tool like
raspi-config. - Restart your Pi to clear any cached data.
These simple fixes should help boost your Pi’s performance in no time.
Optimizing Performance
Now that you’ve got your Raspberry Pi SD card monitoring system up and running, let’s talk about optimizing performance. Here are a few tips to keep your Pi running smoothly:
- Regularly check your SD card’s health using tools like
smartctl. - Use a high-quality SD card to ensure reliable performance.
- Limit unnecessary background processes to free up resources.
By following these tips, you’ll keep your Pi in tip-top shape and ready for whatever projects come your way.
How Much Can You Save?
One of the biggest advantages of remote monitoring your Raspberry Pi SD card for free is the cost savings. Instead of spending money on expensive monitoring tools, you can use free software and tools that are just as effective. Here’s a rough estimate of how much you could save:
- Monitoring software: $50-$100 per year
- Remote access tools: $20-$50 per year
- Security software: $30-$70 per year
Add it all up, and you’re looking at potential savings of hundreds of dollars each year. Not bad for a little bit of setup and maintenance!
Wrapping It All Up
And there you have it, folks! A comprehensive guide to remote monitoring your Raspberry Pi SD card for free. By following the steps outlined in this article, you’ll be able to keep an eye on your Pi’s performance and ensure it stays healthy and running smoothly.
Remember, the key to successful remote monitoring is consistency and attention to detail. Regularly check your Pi’s SD card health, optimize performance, and keep your software up to date. With these practices in place, you’ll be well on your way to becoming a Raspberry Pi pro.
So, what are you waiting for? Get out there and start monitoring your Raspberry Pi SD card today! And don’t forget to share your experiences and tips in the comments below. Happy Pi-ing!